Connecting to AWS S3 with Python
Connecting AWS S3 to Python is easy thanks to the boto3 package. In this tutorial, we’ll see how to
- Set up credentials to connect Python to S3
- Authenticate with boto3
- Read and write data from/to S3
1. Set Up Credentials To Connect Python To S3
- If you haven’t done so already, you’ll need to create an AWS account.
- Sign in to the management console. Search for and pull up the S3 homepage.
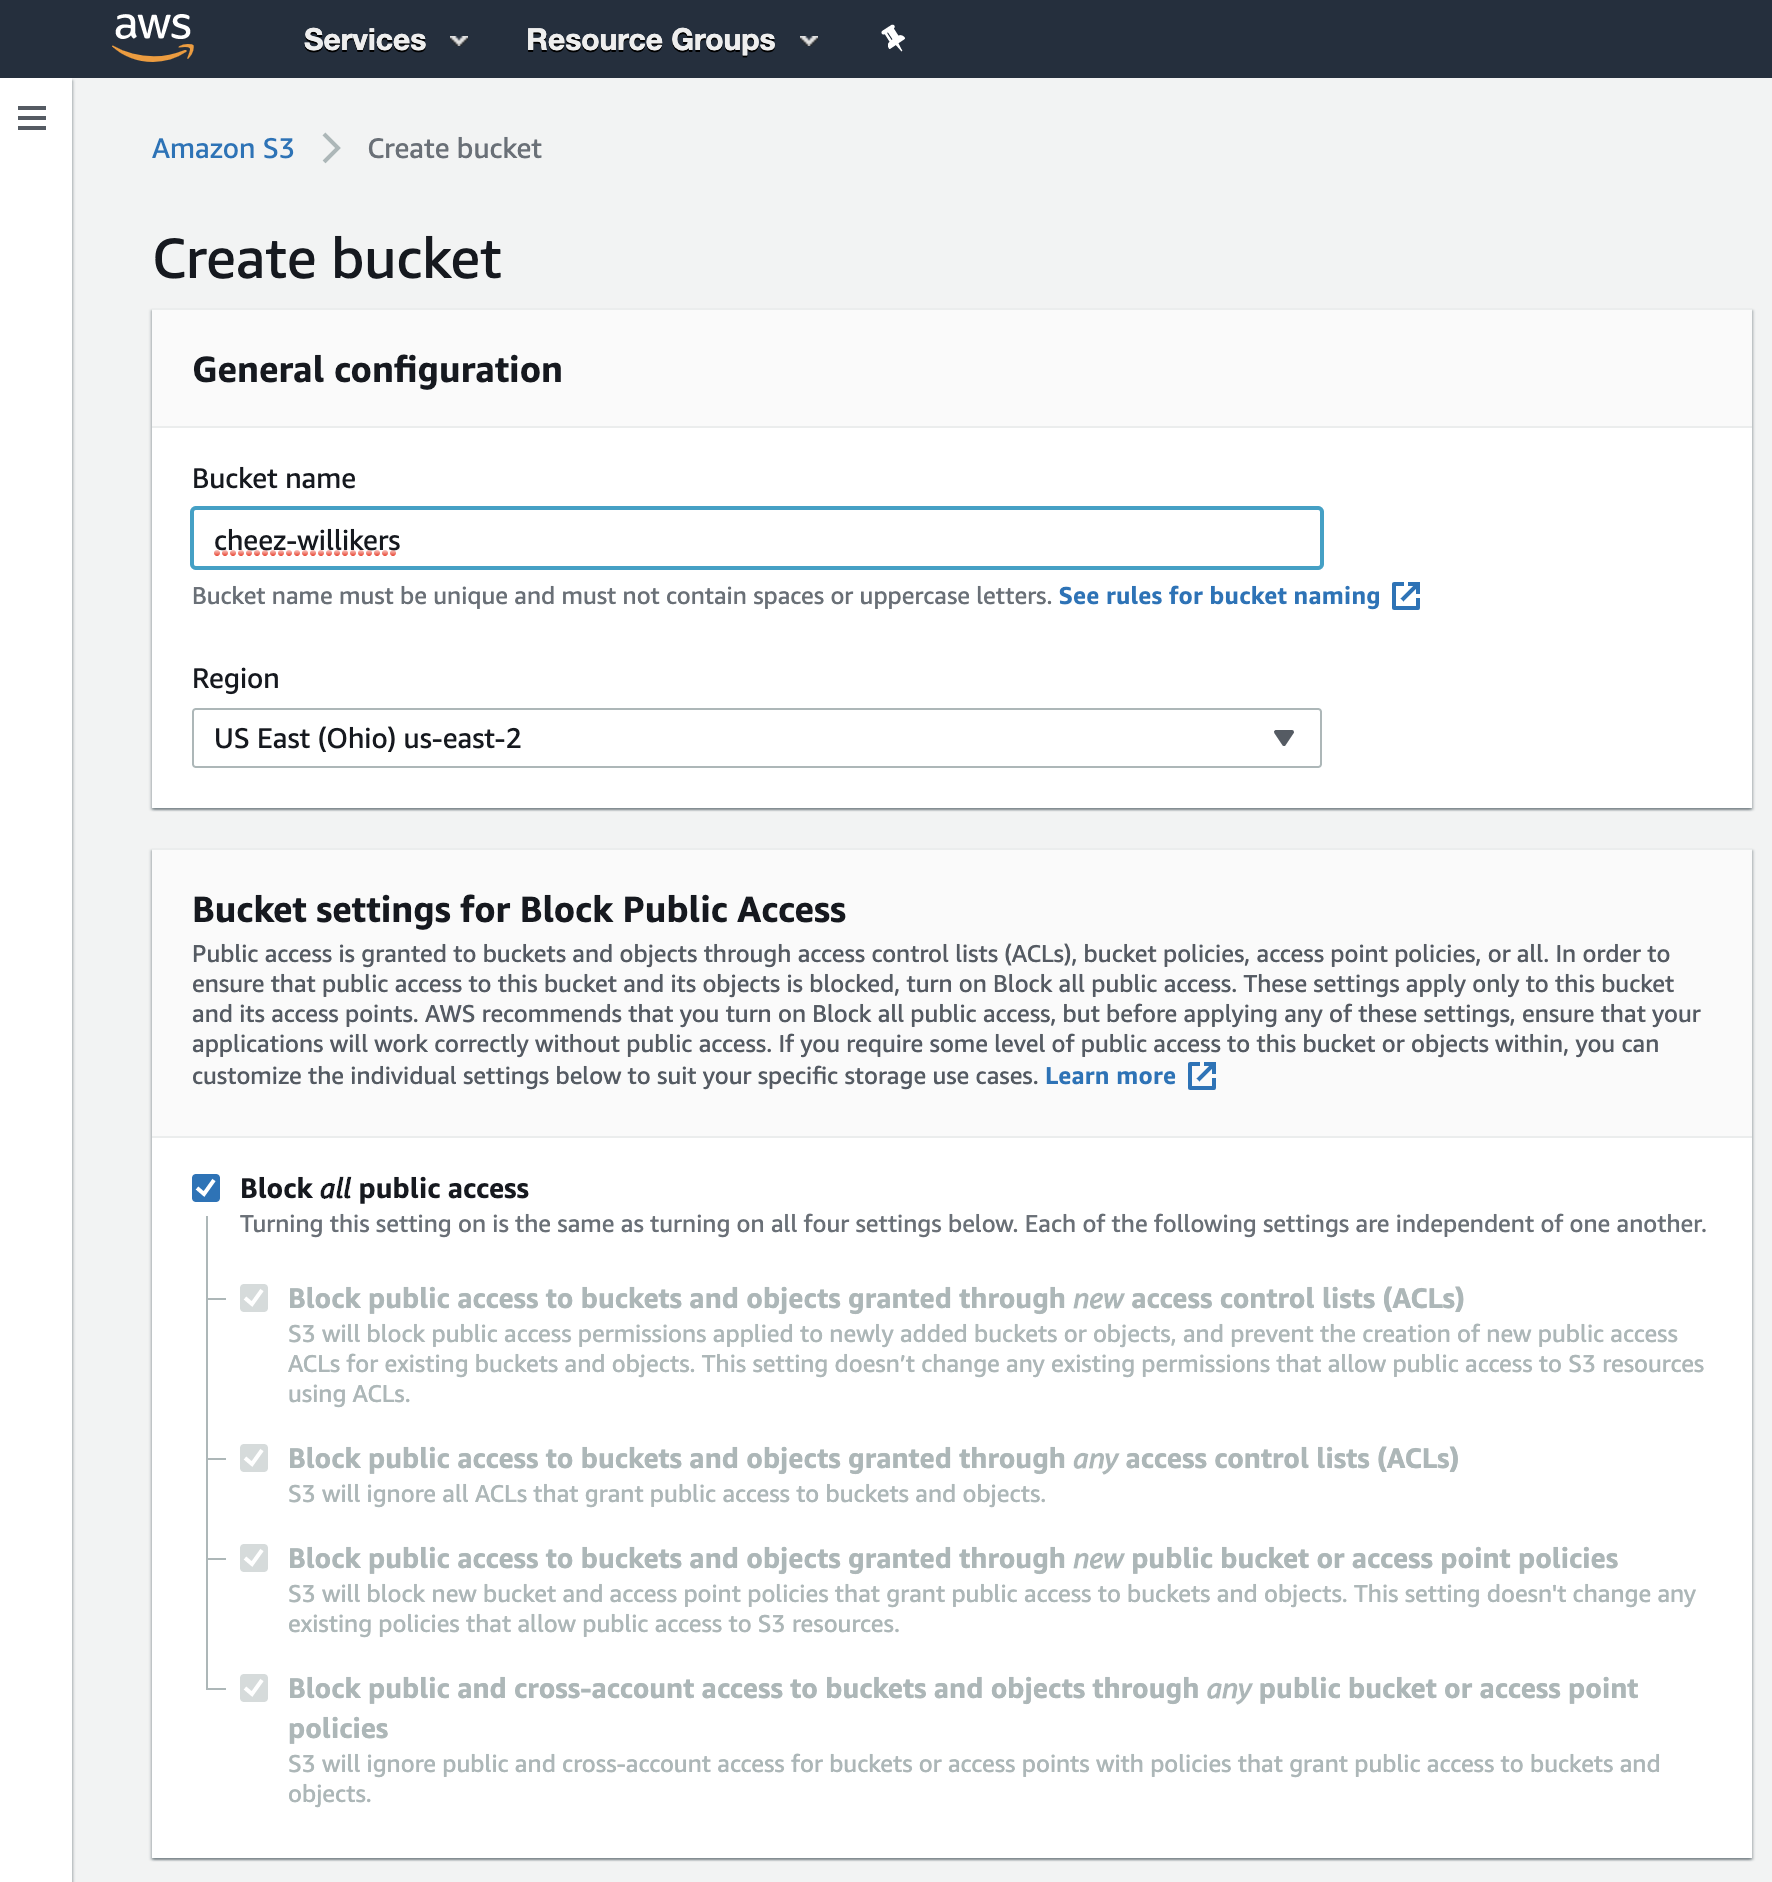
- Next, create a bucket. Give it a unique name, choose a region close to you, and keep the other default settings in place (or change them as you see fit). I’ll call my bucket cheez-willikers.

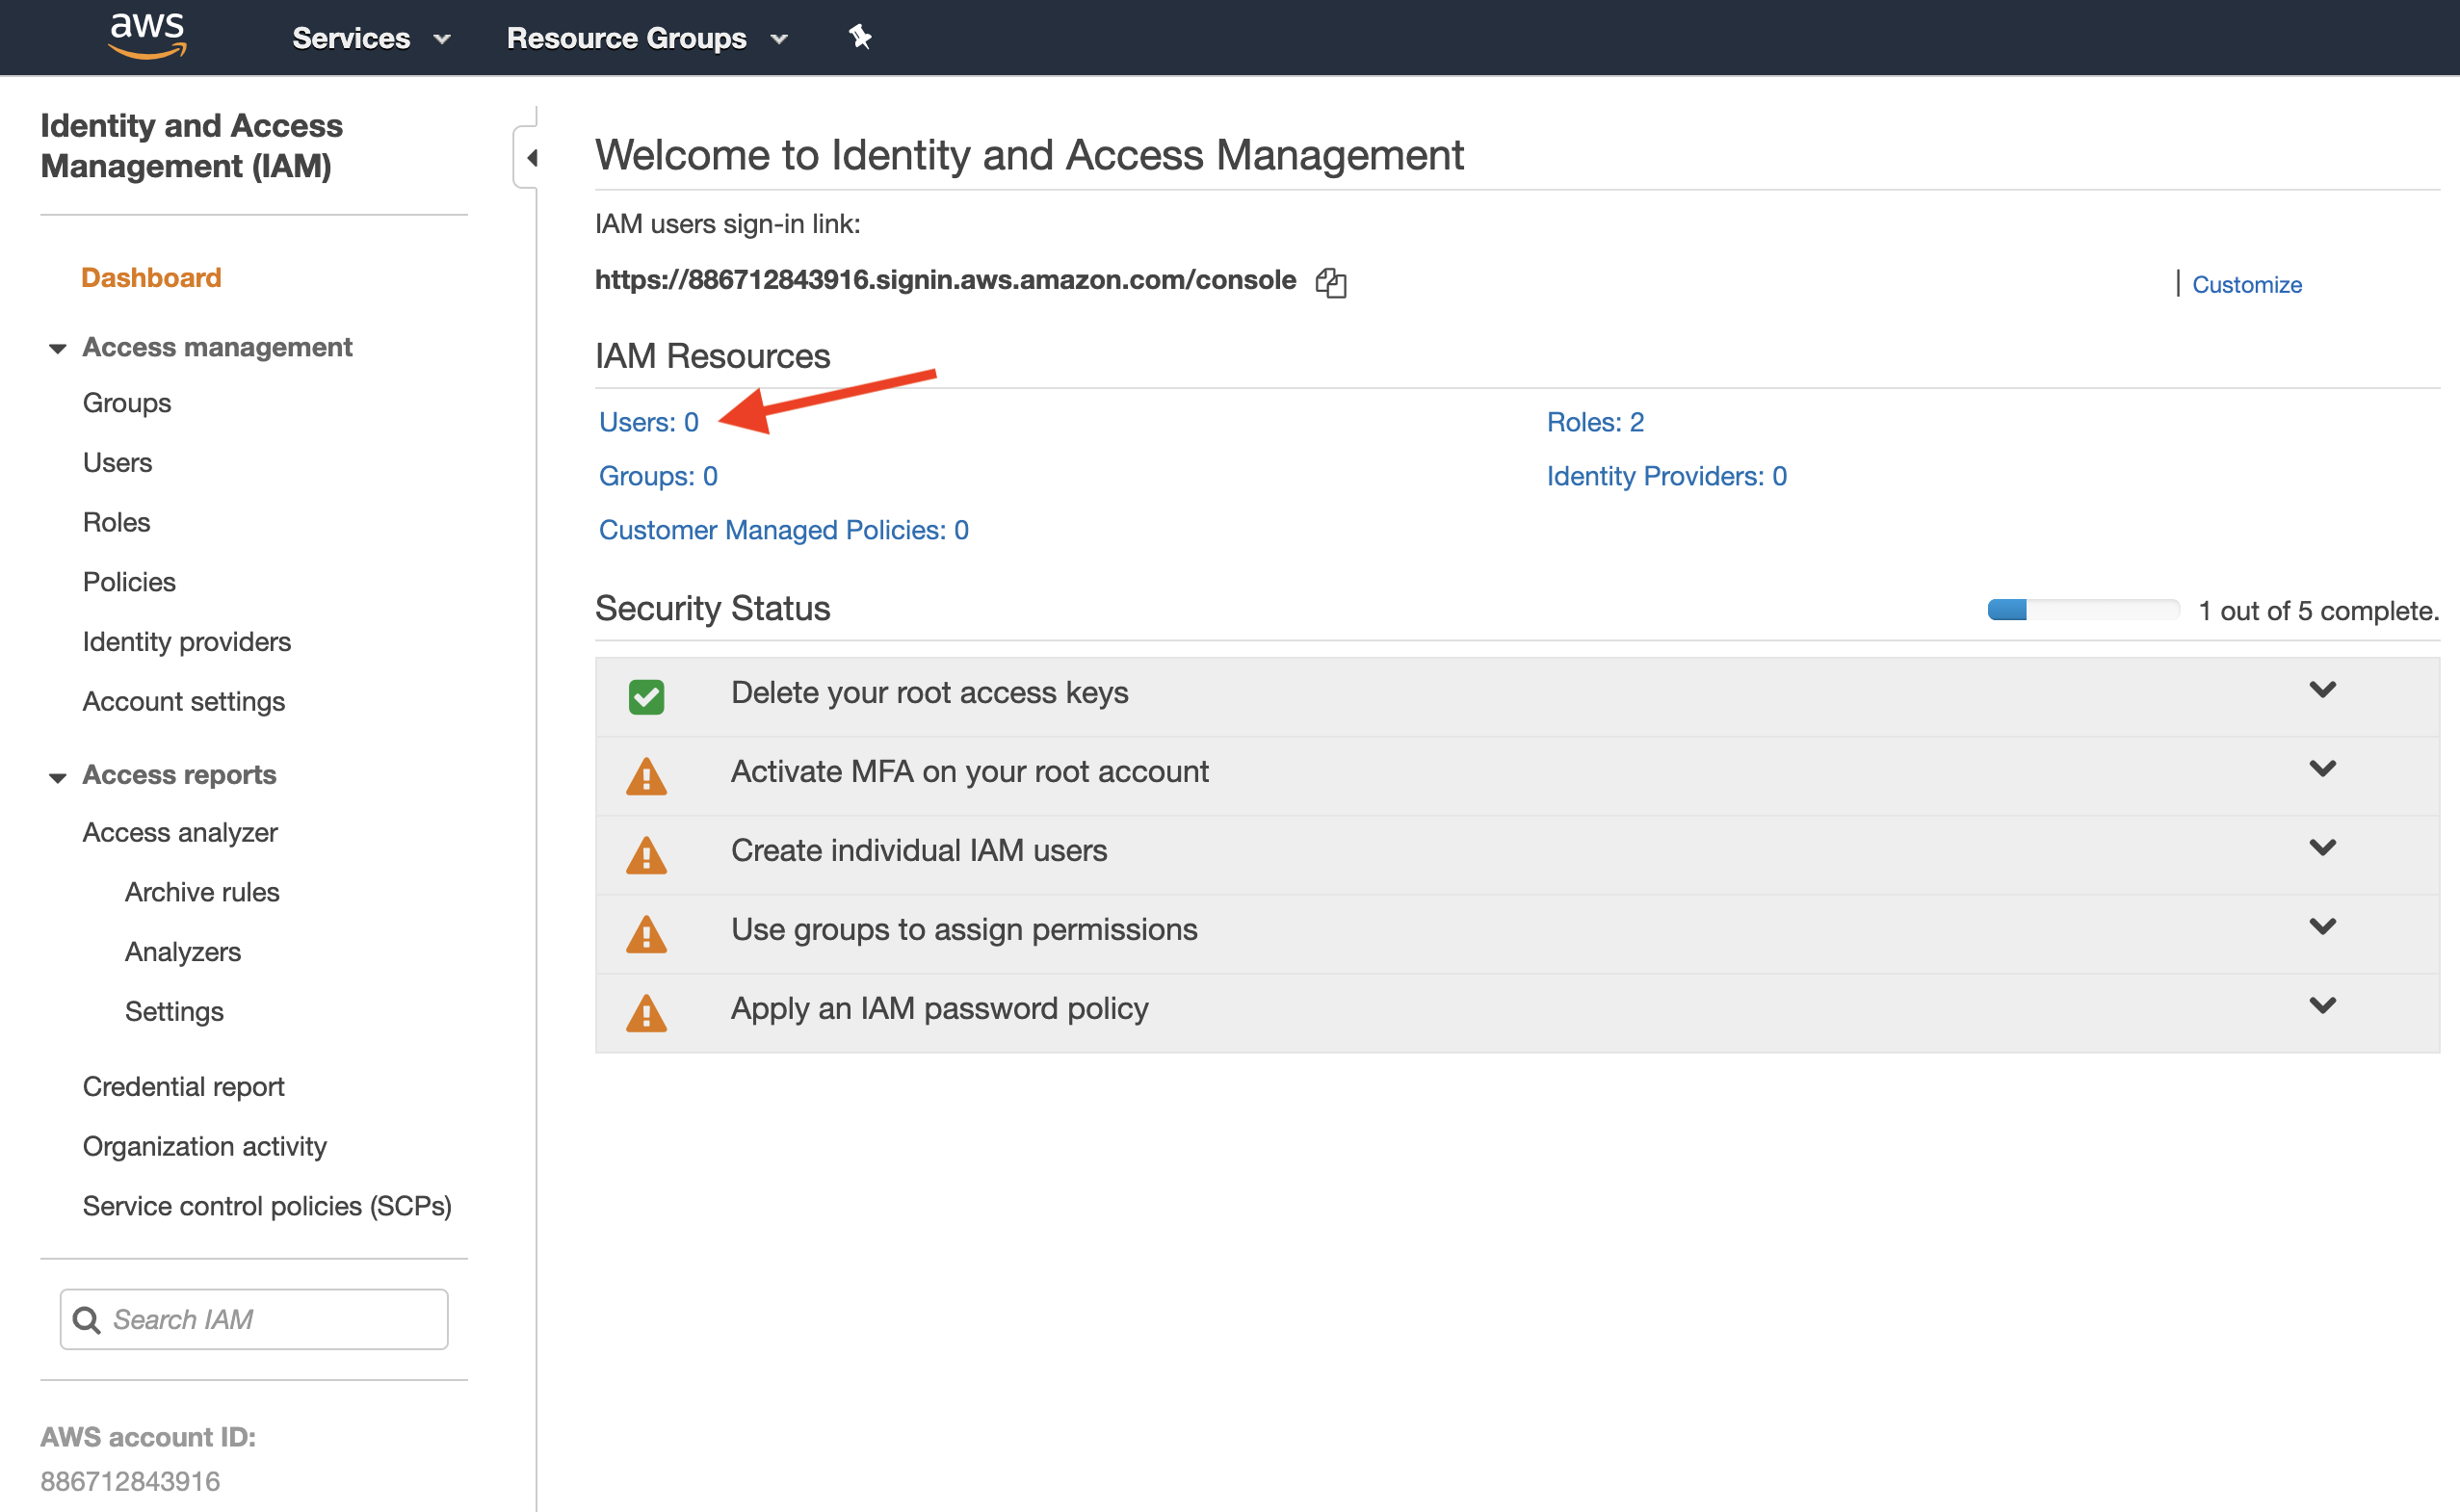
- Now we need to create a special user with S3 read and write permissions. Navigate to Identity and Access Management (IAM) and click on users.

- Give your user a name (like rconnector) and give the user programmatic access.

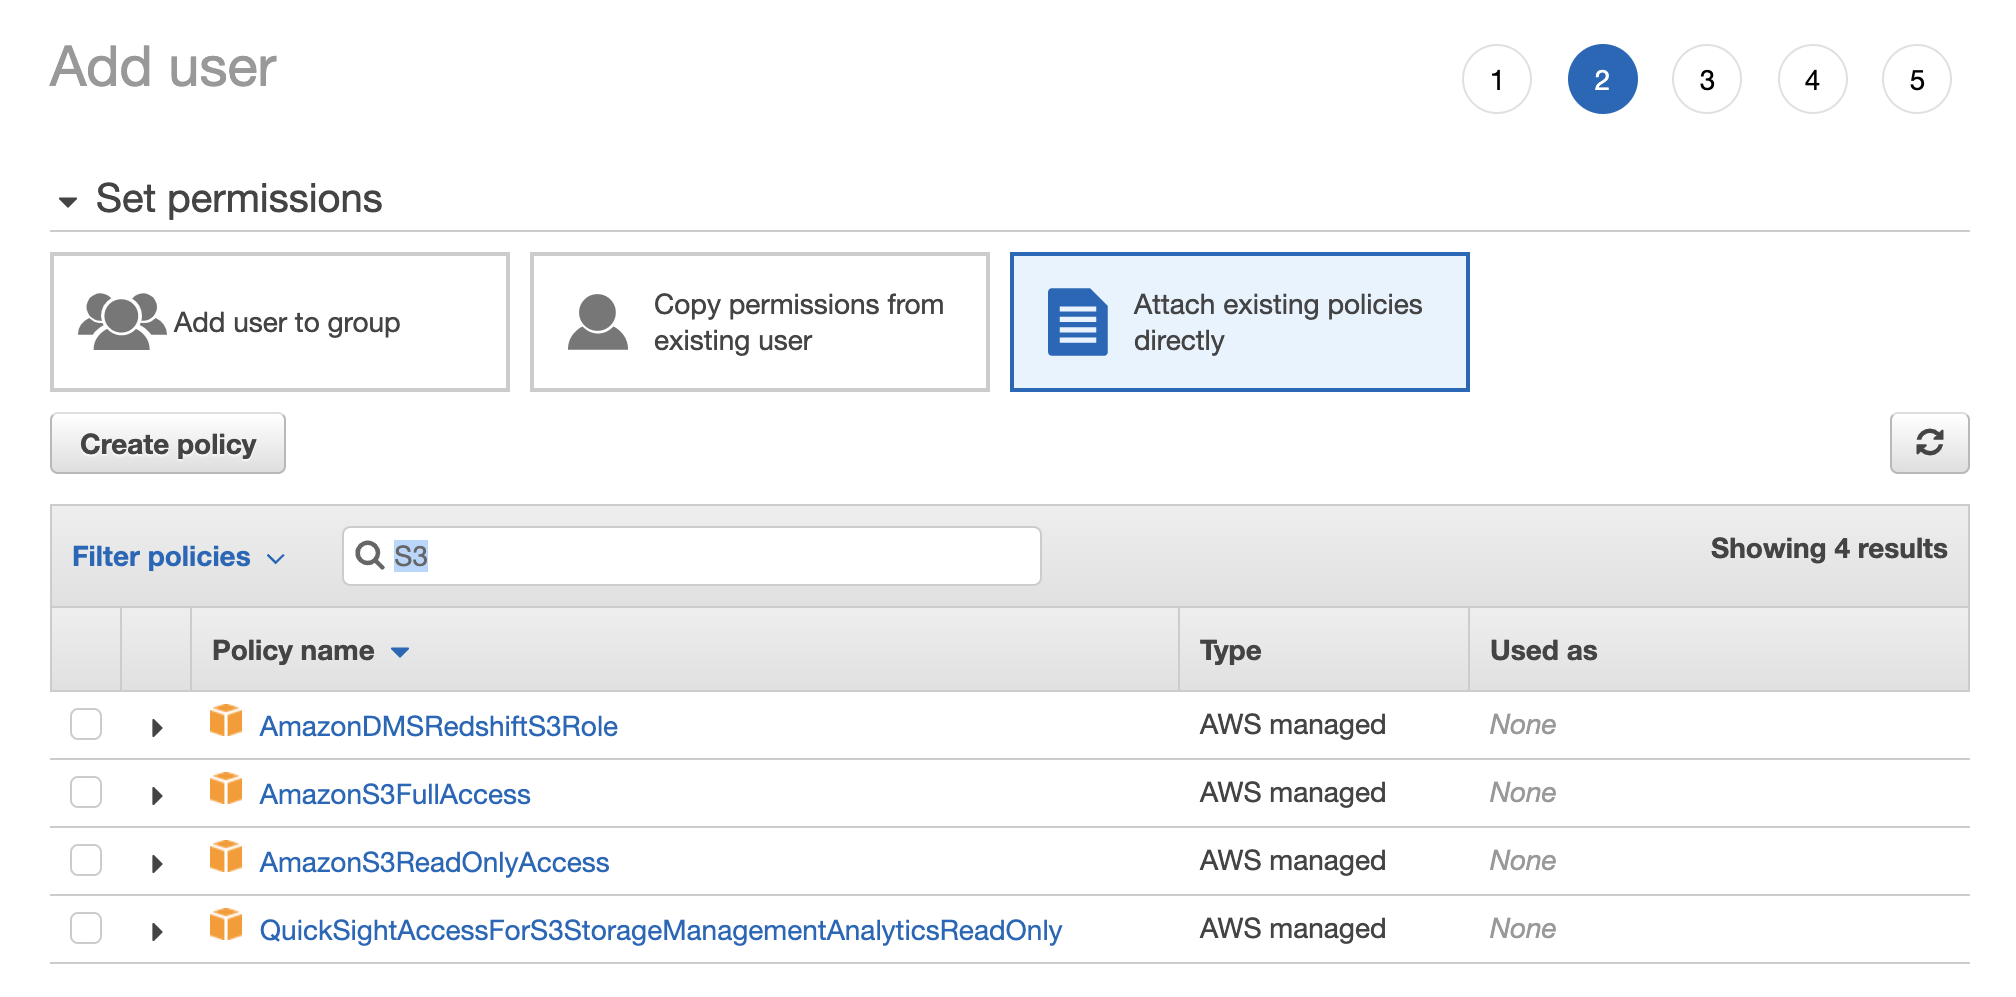
- Now we need to give the user permission to read and write data to S3. We have two options here. The easy option is to give the user full access to S3, meaning the user can read and write from/to all S3 buckets, and even create new buckets, delete buckets, and change permissions to buckets. To do this, select Attach Existing Policies Directly > search for S3 > check the box next to AmazonS3FullAccess.

The harder, but better approach is to give the user access to read and write files only for the bucket we just created. To do this, select Attach Existing Policies Directly and then work through the Visual Policy Editor.
- Service: S3
- Actions: Everything besides Permissions Management
- Resources: add the following Amazon Resource Names (ARNs):
- accesspoint: Any
- bucket: cheez-willikers
- job: Any
- object: cheez-willikers (bucket) | Any (objects)
- Review the policy and give it a name.
- Attach the policy to the user.
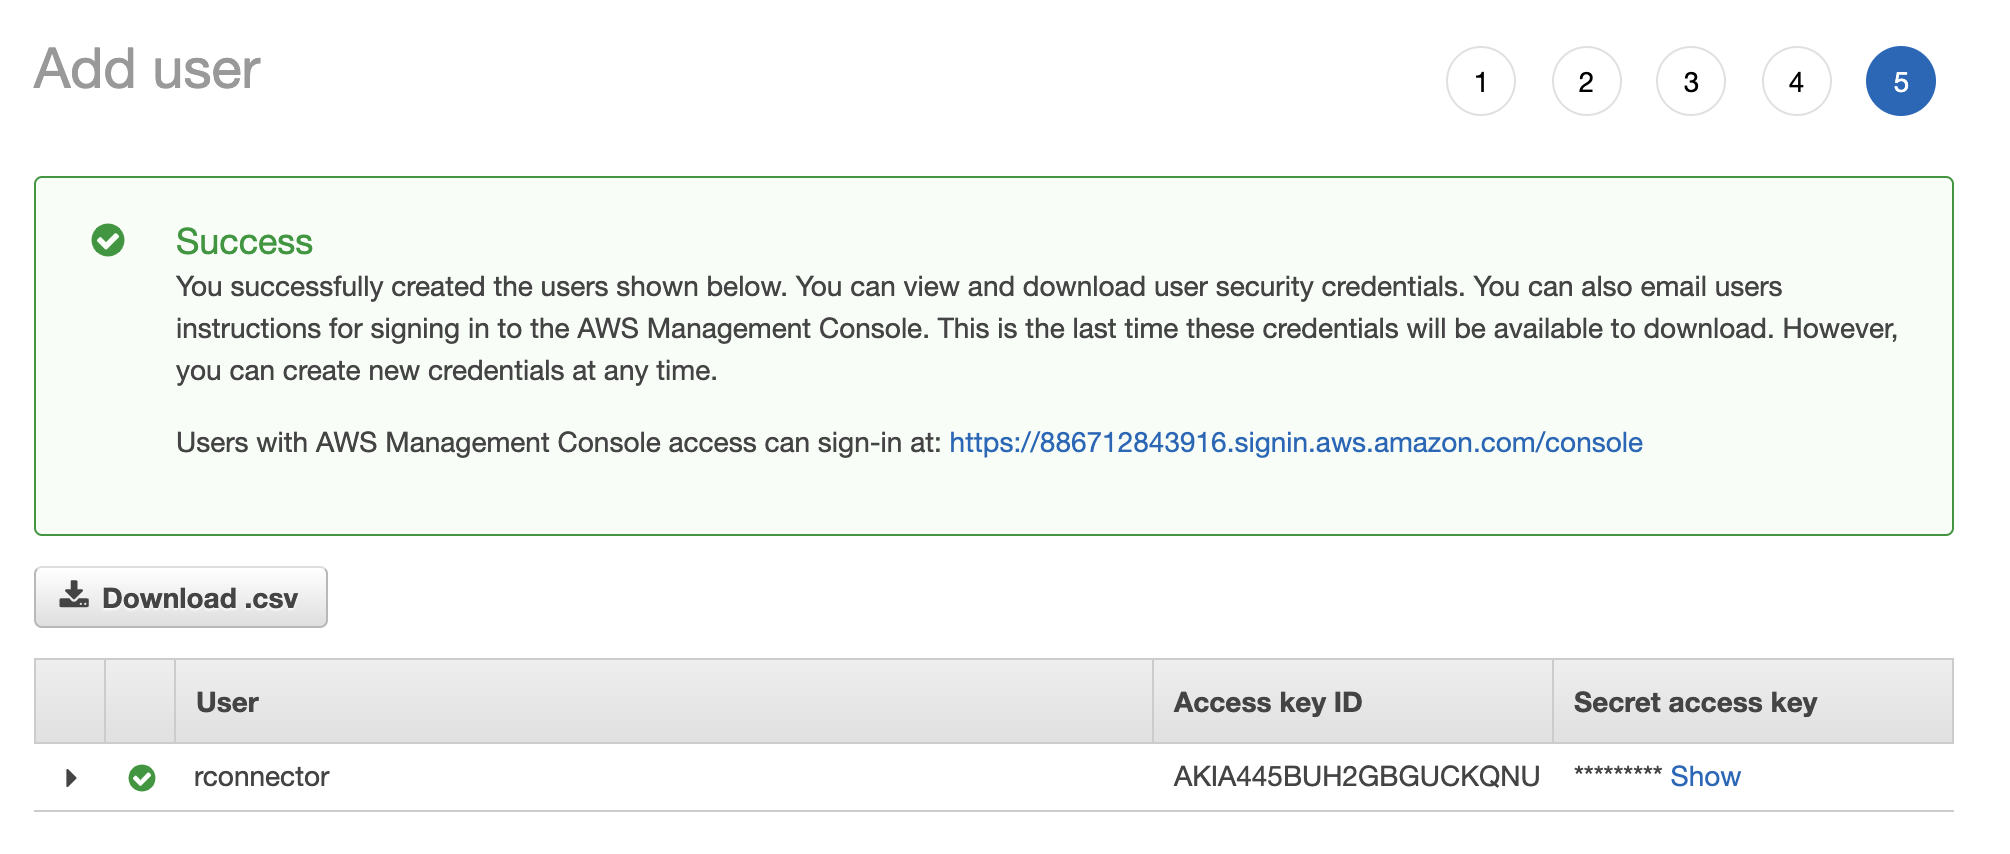
- Skip through the remaining steps to create the user until you get a Success message with user credentials. Download the user credentials and store them somewhere safe because this is your only opportunity to see the Secret Access Key from the AWS console. If you lose it, you can’t recover it (but you can create a new key). These credentials are what we’ll use to authenticate from Python, to get access to our S3 bucket.

2. Authenticate With boto3
Obviously, if you haven’t done so already, you’ll need to install the boto3 package.
pip install boto3
In order to connect to S3, you need to authenticate. You can do this in many ways using boto. Perhaps the easiest and most direct method is just to include your credentials as parameters to boto3.resource(). For example, here we create a ServiceResource object that we can use to connect to S3.
s3 = boto3.resource(
    service_name='s3',
    region_name='us-east-2',
    aws_access_key_id='mykey',
    aws_secret_access_key='mysecretkey'
)
Note that region_name should be the region of your S3 bucket.
You can print a list of all the S3 buckets in your resource like this.
# Print out bucket names
for bucket in s3.buckets.all():
    print(bucket.name)

# cheez-willikers
Two errors I stumbled upon here were
- Forbidden (HTTP 403) because I inserted the wrong credentials for my user
- Forbidden (HTTP 403) because I incorrectly set up my user’s permission to access S3
Alternatively, you can create environment variables with your credentials like so
import os
os.environ["AWS_DEFAULT_REGION"] = 'us-east-2'
os.environ["AWS_ACCESS_KEY_ID"] = 'mykey'
os.environ["AWS_SECRET_ACCESS_KEY"] = 'mysecretkey'
Or you can store your credentials inside a credentials file. (See here for details).
3. Read And Write Data From/To S3
Let’s start by uploading a couple CSV files to S3.
import pandas as pd

# Make dataframes
foo = pd.DataFrame({'x': [1, 2, 3], 'y': ['a', 'b', 'c']})
bar = pd.DataFrame({'x': [10, 20, 30], 'y': ['aa', 'bb', 'cc']})

# Save to csv
foo.to_csv('foo.csv')
bar.to_csv('bar.csv')
# Upload files to S3 bucket
s3.Bucket('cheez-willikers').upload_file(Filename='foo.csv', Key='foo.csv')
s3.Bucket('cheez-willikers').upload_file(Filename='bar.csv', Key='bar.csv')
(Here Filename is the name of the local file and Key is the filename you’ll see in S3).
If you get an error like 301 Moved Permanently, it most likely means that something’s gone wrong with regards to your region. It could be that
- You’ve misspelled or inserted the wrong region name for the environment variable
AWS_DEFAULT_REGION(if you’re using environment vars) - You’ve misspelled or inserted the wrong region name for the
region_nameparameter ofboto3.resource()(if you aren’t using environment vars) - You’ve incorrectly set up your user’s permissions
Now let’s list all the objects in our bucket.
for obj in s3.Bucket('cheez-willikers').objects.all():
    print(obj)

# s3.ObjectSummary(bucket_name='cheez-willikers', key='bar.csv')
# s3.ObjectSummary(bucket_name='cheez-willikers', key='foo.csv')
This returns a list of s3_objects. We can load one of these CSV files from S3 into python by fetching an object and then the object’s Body, like so.
# Load csv file directly into python
obj = s3.Bucket('cheez-willikers').Object('foo.csv').get()
foo = pd.read_csv(obj['Body'], index_col=0)
Alternatively, we could download a file from S3 and then read it from disc.
# Download file and read from disc
s3.Bucket('cheez-willikers').download_file(Key='foo.csv', Filename='foo2.csv')
pd.read_csv('foo2.csv', index_col=0)
 GormAnalysis